Showing posts with label make it. Show all posts

September 28, 2012


top- thrifted / skirt- thrifted / tights- my grandma's / scarf- made by me / shoes- target / necklace you can't see - gift from  my sister
I officially dubbed this the "autumn" skirt because "floral/paisley" looks weird, and the print and color pallet basically scream HELLOIAMCHANGINGLEAVES. I thrifted this baby about two years ago, and it's been sitting...and sitting...and sitting, just waiting to be altered. It has an elastic back and no pockets, so all I had to do was take in the sides a bit to bring up the waist, and made it a little shorter. I might still take it up an inch or so, but either way I'm lovin' the newest member of my closet! Dreaming up so many fun fall/winter combos to wear with this thing! 

Oh, and don't mind the tripod shadow or cars in the background. Whatever. 

ANYWAY. I hope you're having an amazing day! I'm off to practice my skirt twirls and camera jumps. 

September 18, 2012

Introducing a new series!

So I've been toying with this idea for months now, and what better time to launch a sewing series than National Sewing month?! Sorrynotsorry I keep reminding everyone. But seriously. Onetwothreerestyle will be an ongoing series that will include all kinds of sewing projects, from simply spicing up an old garment to altering something thrifted to getting crazy and full-on restyling a piece into something completely different from its original state. Like, pants to shorts or something (crazytown, I know). I'll be using it track my skill progress, push myself to get creative with the clothes I have vs. dropping dollars for new ones, and hopefully give you some fun, crafty ideas to shake up your closet in the process! 

This first post is just about as basic as they come. I took a plain jane cotton dress and handstitched a bit of lace to the collar. That's it. That's all. Quick, easy, and now the dress is a little bit fancier than I found it. 
dress- target clearance / belt- thrifted / sandals- my mom's / necklace- thrifted / lace- thrifted
Happy Tuesday lovelies! 

September 4, 2012

Easy Art Journal Organizer.

My little sister likes to hang out in my room while I art journal, and as I got more into it (read: buried under paper scraps and general ephemera) she decided to start one of her own! I was SO thrilled. She's always running into my room with her journal like "BIRD LOOK AT THE PAGE I JUST FINISHED!" haha. I LOVE it.so.much. And when her birthday rolled around I wasn't quite sure what to give her...but then it hit me. She already has unlimited access to my supplies, but how cool would it be to have a stash of her own? (And also clear her desk of all the scrapbook paper and pages she's torn out of magazines). 

My favorite thing about this little organized starter kit is the fact that it's quick and cheap to assemble, as well as easy cleanup for the person using it (that's probably my mom's favorite part). Another cool thing is the adaptability of the concept for all ages and interests. Of course, if I were to make this for one of my friends, I might upgrade to a plastic storage container, etc etc. ANYWAY. Here's what's inside!  
 The Basics
-Folder for scrapbook and other paper (which, like I said, my sister already has plenty of)
-What art journaling experience is complete without a great playlist?! I compiled a mix of our favorite 'sister songs'
-Stamp and stamp pads ($1 each at Michael's)
-Neon rainbow gel pens (88cents)
-Gluesticks (from my own massive stash)
-Stickers! She's really into mustaches right now so I HAD to get some of those, along with the Phineas & Ferb ones (confession: I bought the P&F ones for myself too; at $1 each? HAD TO)
-Decorative tape: I have a really limited supply of washi tape/can't really afford to buy it regularly, so I started printing patterns on label paper and cutting it into strips to use. Not exactly the same thing, but just as cute! I gave her some of my favorites. 
-Large ziploc bag for paper scraps: I have all of my scrapbook/art journaling paper organized in a plastic bin with hanging file folders, but I still use this method for my small scraps. As of right now it's busting at the seams so I need to do something about that, ha.
-Odds & ends: I have a box of random found objects I like to use in my journaling, so I put together a little bag of miscellaneous notecards, envelopes, pictures, photo corners...anything that could possibly be used to add interest to a page. My hope is that she adds her own little elements as she journals. 
Last but not least...
-Prompt cards! The baby bird has a beautiful creative spirit but we all have those days when we're just stumped and need a little nudge of inspiration. I wrote out different ideas for art journaling pages on notecards and put them in an envelope. 
The final product! Again, nothing but the basics. Shoebox storage and mini organizer tray I found around the house. There's even room for her to store her journal in the box too! Everything stays neat and tidy. If only MY craft supplies were this organized! 
She really loved her gift, and literally ran upstairs with it the minute she'd looked through everything. I can't wait to see what she comes up with! 

Hope you had a fabulous Labor Day weekend! Did you do anything exciting? Have you ever made a kit like this (or in general) for someone before? 

July 8, 2012

Make it: Plastic photo inserts for art journals

Confused by the title? See that page in the middle? That's what I'm talking about. This is a spread I made for my art journal that was kind of scrapbookish; commemorating the night I saw my friend Andy's play at the beginning of June. I decided to "immortalize" Houston Press' review of the play, along with his photo and an instax I took in the theater that night in a plastic insert. 
The first time I experimented with turning plastic page protectors into photo pockets was actually born out of a lack of space. I was making a birthday book for a friend and after finishing the book (I'd sewn the book together with only so many pages, so once filled I couldn't just add more) realized I had sooo many extra photos that I still wanted to include! I've also been really obsessed with the idea of Project Life photo inserts, and how I could somehow create that to fit any project I was working on. The following DIY is basically an adaptation of what I made for my friend's book; instead of taping the inserts in, I've adjusted the design so I can make plastic photo/ephemera inserts to add throughout my art journal! 
So, to make one of these, you will need: 
1. Cut off the edge with binder holes. Flip your page protector so that the closed edge is on the left. 
2. This picture is supercloseup and hard to see, I know. I should've put something behind it for better contrast, but bear with me. Sew a straight margin about 1/2 inch from the closed edge of the page protector. I just kind of eyeballed mine, but if you're punching holes, you want to make sure you have room. Once you've got your margin, punch your holes accordingly. The pages of my art journal are smaller than the plastic page, so I used one of my completed journal pages as a guide. 

3. Practice laying out your page so you know where you want everything. Starting with the bottom left corner, insert and sew around each element, one at a time. For elements of different sizes and shapes I usually use a straight stitch, but for a few of the photo pages I made for my friend's book, I used a zigzag stitch and colored thread to create more interest. 
Initially, I'd planned on using the instax photo of the flowers for a journaling page, but decided at the last minute (while I was prepping this DIY, actually) to include the photo and a small panel of journaling instead. More variety, ya know? I sewed a block around the leaves first, then the photo, then the text. The petals were the last thing to be added because I wasn't sure how much room I'd have left. Also, notice how crooked some of my sewing is. Don't stress about it, totally adds character to your page. At least that's what I'm telling myself. 
Final product! Left: front / Right: back
One thing to remember is that the back of whatever you put in your photo pockets will show too, so if you have a newspaper clipping with random stuff on the back that you don't want seen, back it with paper and add a sticker or stamp or something (which I didn't do on Andy's insert because I didn't really care). On the back of each instax I add a label with the date. For my friend's book, I glued a small bit of paper to the back of each photo to write a note or date, etc. Anyway!
Handmade photo inserts are a fun way to add interest to your art journal, especially when you have elements that are more difficult to work with on a page (like leaves, petals, etc). My favorite thing too is that they don't always come out the same size as the journal pages you're working with, or even the same shape, like Andy's page, so the edge isn't just another straight line. 

Happy journaling friendlies! How was your weekend? I was kind of lazy for the first time in awhile...caught up on some movies, hung out with some great people, took a few photos. Did anyone take any great photos or create some amazing art? I wanna know! 

May 8, 2012

Make It: Mini Sketchbook Tutorial & DIY Roundup

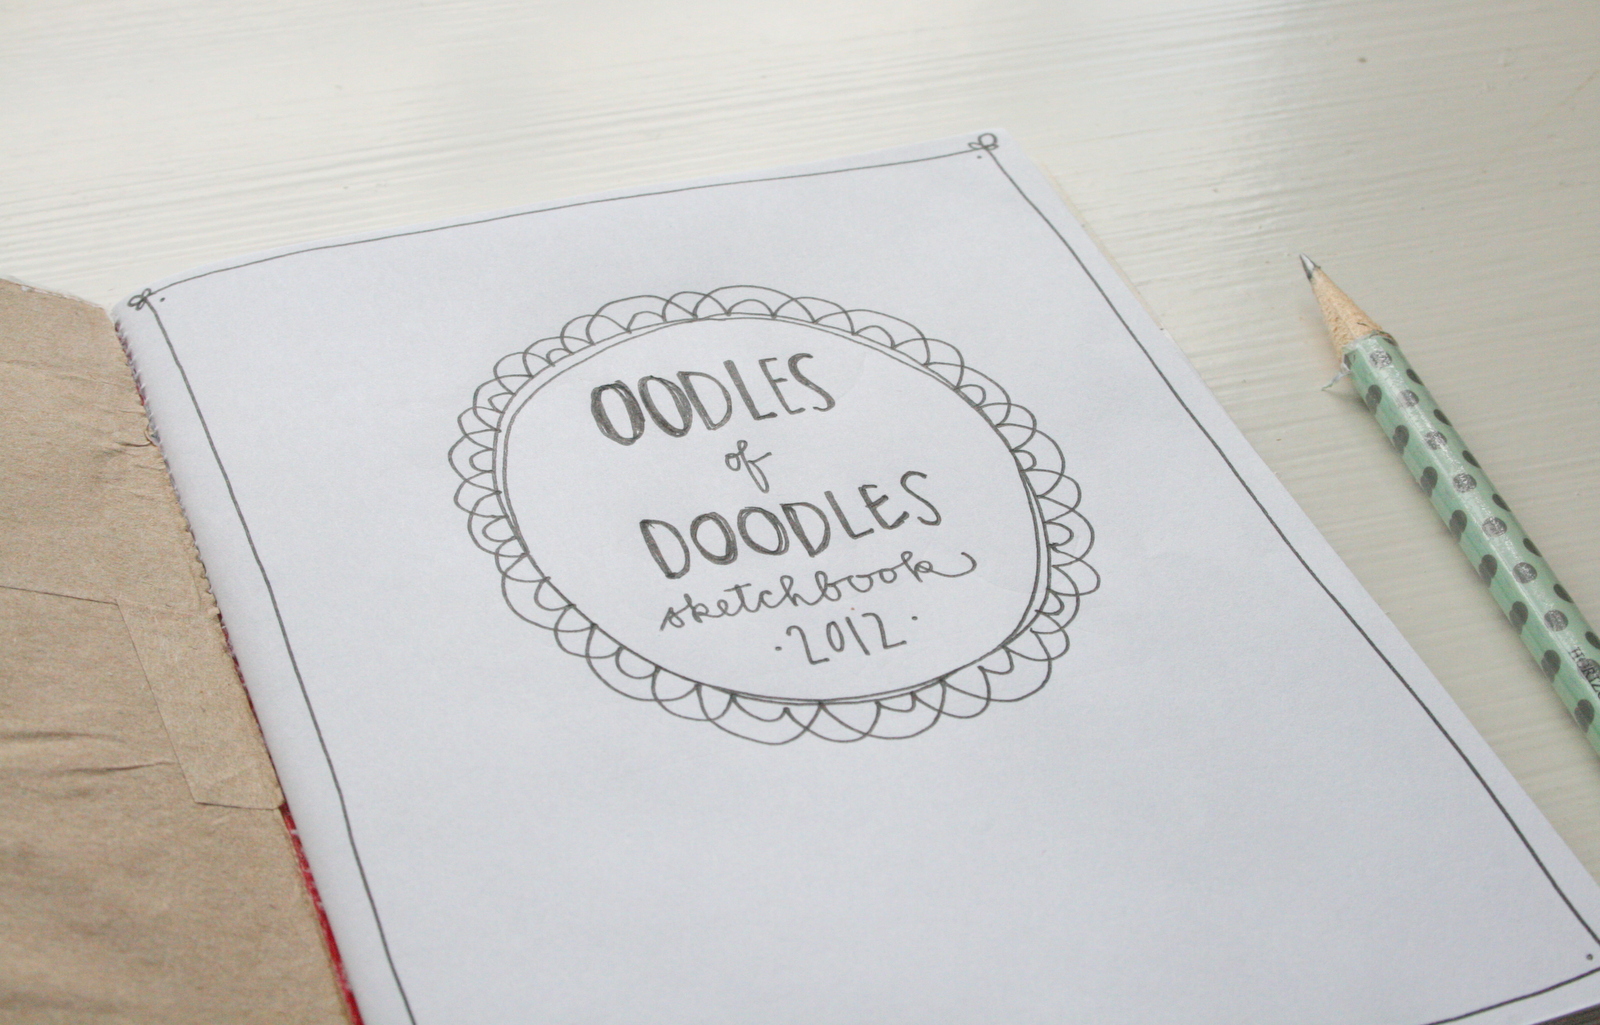
Writing and art journaling are two of my absolute favorite things, and I've made these mini notebooks since highschool, using everything from cereal boxes to paper shopping bags! This project only takes about twenty minutes and a few supplies from around your house/recycle bin. I usually tote an average of 4 notebooks in my bag for different things, and this one is perfect for a quick doodle or sketch. Enjoy!
*Cardstock/sketch paper: for this project I used the backing that came in a package of Wilson doilies (basically cardstock weight), and the lightweight paper (not exactly tissue but not as heavy as computer paper) is actually the paper that comes stuffed between boxes of binders we order at work (I save it every time for this exact purpose: notebooks and sketching). Waste not, want not, right? 
1. Cut your cover and sketch pages the size you want, making sure that the pages are just a bit smaller. Fold and sew the cover and pages together, straight down the middle. If you don’t have a sewing machine, you can do this by hand! I like to use a little bit of masking tape to reinforce the stitches in the spine after sewing.

2. Cover the outside of your book with decorative paper using double-sided tape (I used to use gluesticks for this but the tape makes things so much easier with less mess!) Be sure to cut notches at the spine and corners as you fold it over.
3. Cover the inside covers of your sketchbook with pieces of brown paper bag. Gluestick or tape both work well for this.

That’s it! Simple right? Not only are they easy to carry around, but they make great personalized gifts. Mother's Day is coming up...this sketchbook could easily be turned into a tiny photo album with some sweet notes from other family members! No limits guys, let your imagination run wild (: 
Past journals I've made using a similar method


If you like this tutorial, you might also like:
-Another great Mother's Day gift idea: this mini photobook from A Beautiful Mess (I love the shape of it! Such a fun block of memories)
-This video on simple book binding using notecards
-I used the basic concept of this mini scrapbook DIY to create my best friend's not-so-mini birthday gift
-Some inspiration for making minibooks of your own from Enjoy It
-This easy to make notebook tutorial from Designlovefest

Creating something you could just as easily buy is such a gratifying feeling, not to mention the uniqueness of your work! Journal/sketch/scrap away, my friends! 

May 7, 2012

Weekending.


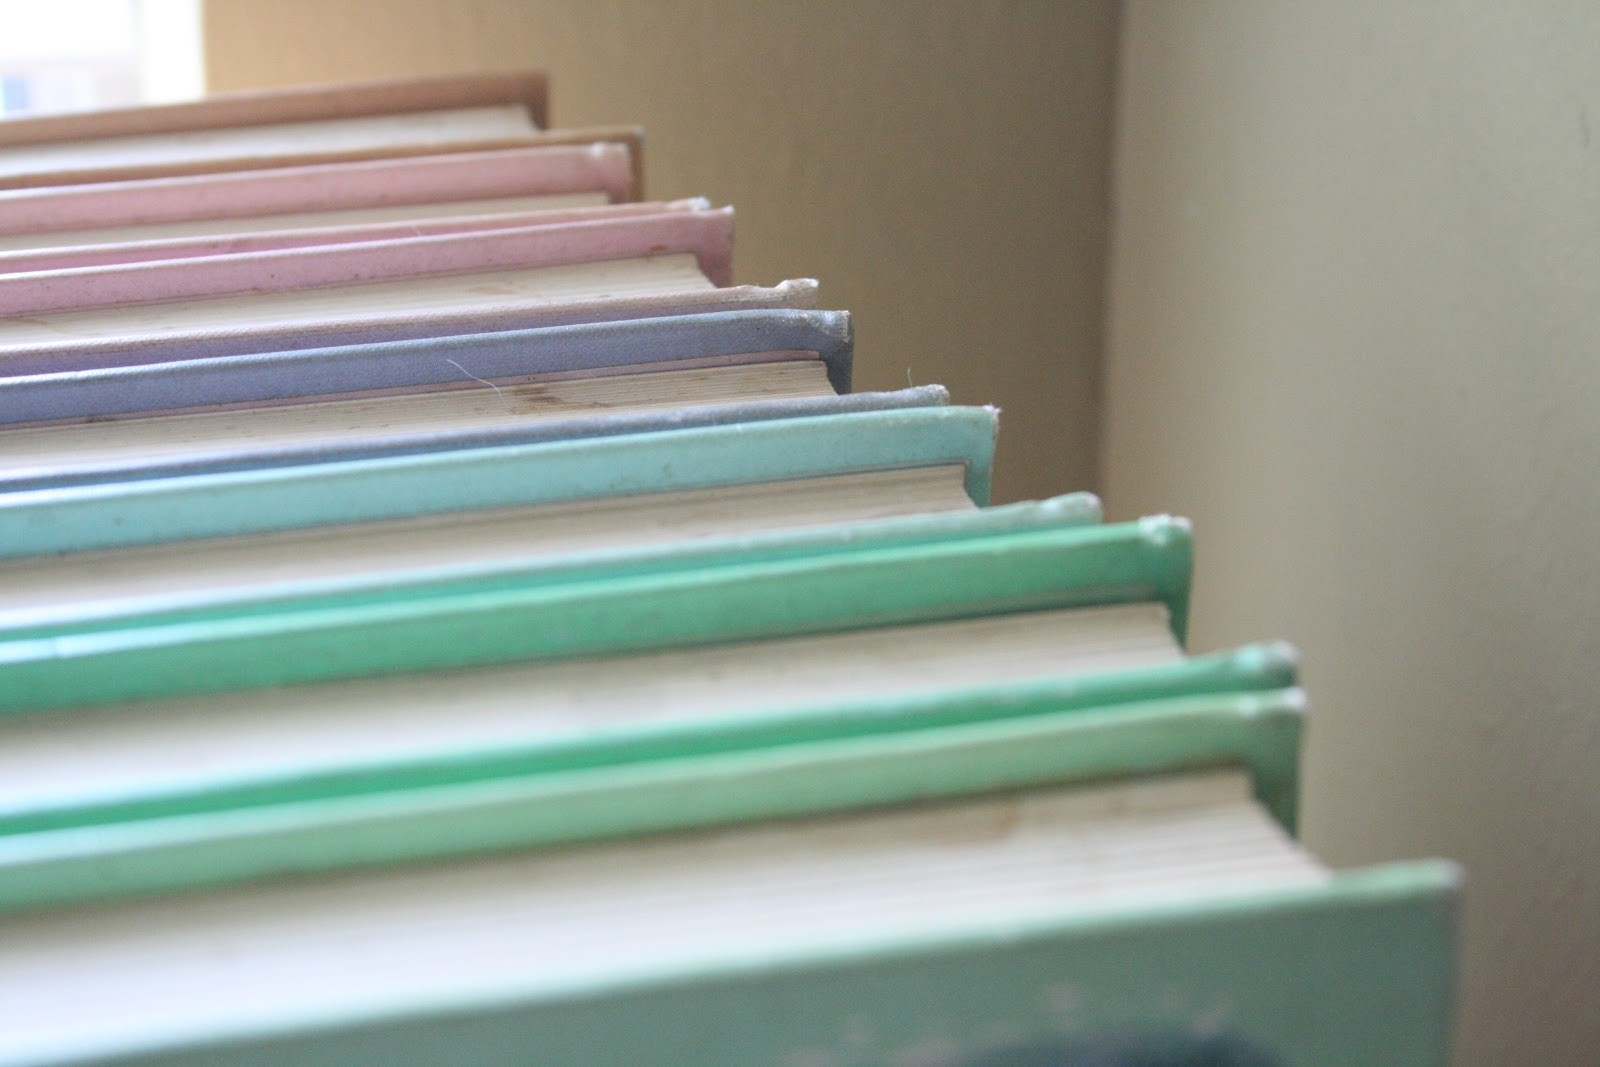
This weekend was a crazy mess of reunions, accomplishments, and catching up on life. Saturday morning was Sageglen’s annual neighborhood garage sale (!!!) and even though there were a lot less sales than usual, my sister, grandma and I had a lot of fun walking around and browsing. I spent a total of $4 on a collection of vintage children’s books and two vintage children’s encyclopedias. The topics and illustrations were just too cute to pass up! I also found a copy of Mere Christianity, which was AWESOME because I’d literally been thinking of re-reading it the day before but couldn’t find my copy. Coincidence? I think not!
"All over the world, people have learned to use art & music & writing to show some of the things they feel." Love it!

Aren't these illustrations ADORABLE?! And the message rings true well beyond elementary school. 
My sister flew into town that night so everyone was busy cooking, cleaning, (I baked!) and running errands before going to the airport. It’s great to have her back for the summer; plotting lots of sibling dates already (:
During my Sunday morning blog browse I stumbled upon this incredible craft idea: make your own baker’s twine! Maybe it’s not as fancy as the store-bought variety, but I’ve recently come into about forty skeins/rolls (?) of crochet thread, twelve of which are white. And while I’m super excited to have such a bountiful supply at my disposal, I’m rubbish at crocheting lace sooo I’m trying to come up with other creative ways to use it. And Laura Beth’s DIY was definitely a start! It was the perfect project because I had a few empty wooden spools from a previous antique run just laying around, and now I have some fun homemade baker’s twine to fancy up gifts and art projects!
The Boyfriend even scored big this weekend: he found a Datsun engine on Craigslist that he’s pretty stoked about and I'm so proud for him! Those spare parts are going to make the restore a whole lot easier. Overall I’d say it was a pretty great few days (:

What kindsa trouble did you get into this weekend? Good luck to anyone who still has finals this week, and congratulations to those of you graduating! 

March 26, 2012

National Craft Month: Contain Yourself, 3 Ways.


Spring is finally here, and you know what that means…spring cleaning! I don’t know anyone who’s ever actually stuck to this ‘clean once a year’ bit, but I completed phase one of my cleaning in January and there’s still plenty of work to be done. Everyone and their mother is having sales on bins, boxes, and organizational whathaveyou to aid the toss-out process, but when you’re on a tight budget, it gets a little tricky. How do you clear the clutter without spending a boatload?

Easy! Almonds and oatmeal.

No really! This week’s DIY is a great way to get organized using the resources around you, and I've got three ideas on how to do just that.


1. Lacy Vase You will need:
1. Cut a piece of lace large enough to wrap around the canister, with extra for overlap. Apply fabric glue with paint brush around the top rim of the canister, just under the lip. Glue the top part of the lace all the way around. Smooth the lace as you go so it lays flat along the canister surface. 


2.  Glue the first edge of lace to the canister. Glue the overlap edge after the first has dried. I let mine overlap about ½ inch so that the bottom pattern of the lace was continuous. Add tiny dots of glue to the bottom lace edge if they stick out too much.


3. Thread your needle and circle stitch all the way around the rim of the canister, and there ya go! Fill with flowers to brighten up a room or use as a centerpiece, or organize your crochet needles! 


2. Striped Supply Holder You will need:

*disclaimer: When I made mine, I painted the colors backwards…so the photos are misleading-ish. I’ll explain.

1. Paint the entire canister with your basecoat color. I accidentally grabbed the green while doing this, but my basecoat should’ve been off-white. Let dry completely.


2. Tape off the edges of your stripes. Paint within the taped lines. I had to use the tape AS my stripes to reverse my basecoat mistake and it turned out alright, but if you’re using darker colors this might be more difficult. Allow paint to dry completely and then remove the tape. There ya have it! Clear out some kitchen drawer space (t-shirt DIY deja vu, anyone?) by storing cooking utensils in your nifty new container! You could also save the lid and use in your sewing room to store smaller bits of scrap fabric. 


3. Fabric Organizer You will need:


1. Cut a piece of fabric large enough to wrap around the container, with extra for overlap. Don’t worry if it hangs past the bottom of the container either, we’ll get to that! 


Apply fabric glue with paint brush along top and bottom rims of container, smoothing fabric as you go. Glue edges. Let dry.


2. Trim bottom excess with the exacto knife, using the bottom rim as a guide. Wasn't that easy? Use as a desktop organizer for pens and pencils orrrr... I'm making a few of them to organize some of my smaller craft supplies, so I'm saving the lids. Wouldn't they look cute stacked and labeled?  


A few more tips on tidying up:
·  Scour your local thrift store for cheap wicker baskets, bins, jars, and vases
· Wrap small boxes or shoe boxes with fabric or wrapping paper that matches your décor to organize craft supplies or photos on a bookcase
·  Hobby Lobby has a great selection of mason jars and general glass containers for the kitchen or sewing room. I bought a tiny one recently for all of my buttons! Might be in the market for some larger ones to organize my flours pretty soon.


If you’re in need of some de-cluttering as badly as I am, I hope this inspires you to get started and have some fun while doing it! What does ‘spring cleaning’ look like for you? Do you have any organizing tips to share? I’d love to hear them! 


LinkWithin

Related Posts Plugin for WordPress, Blogger...